Starting a Project
In the Ignitor, users have two options to begin a project:
a) Create a new project by entering the design and testbench in their respective sections, or
b) Load an existing project to continue working on it.
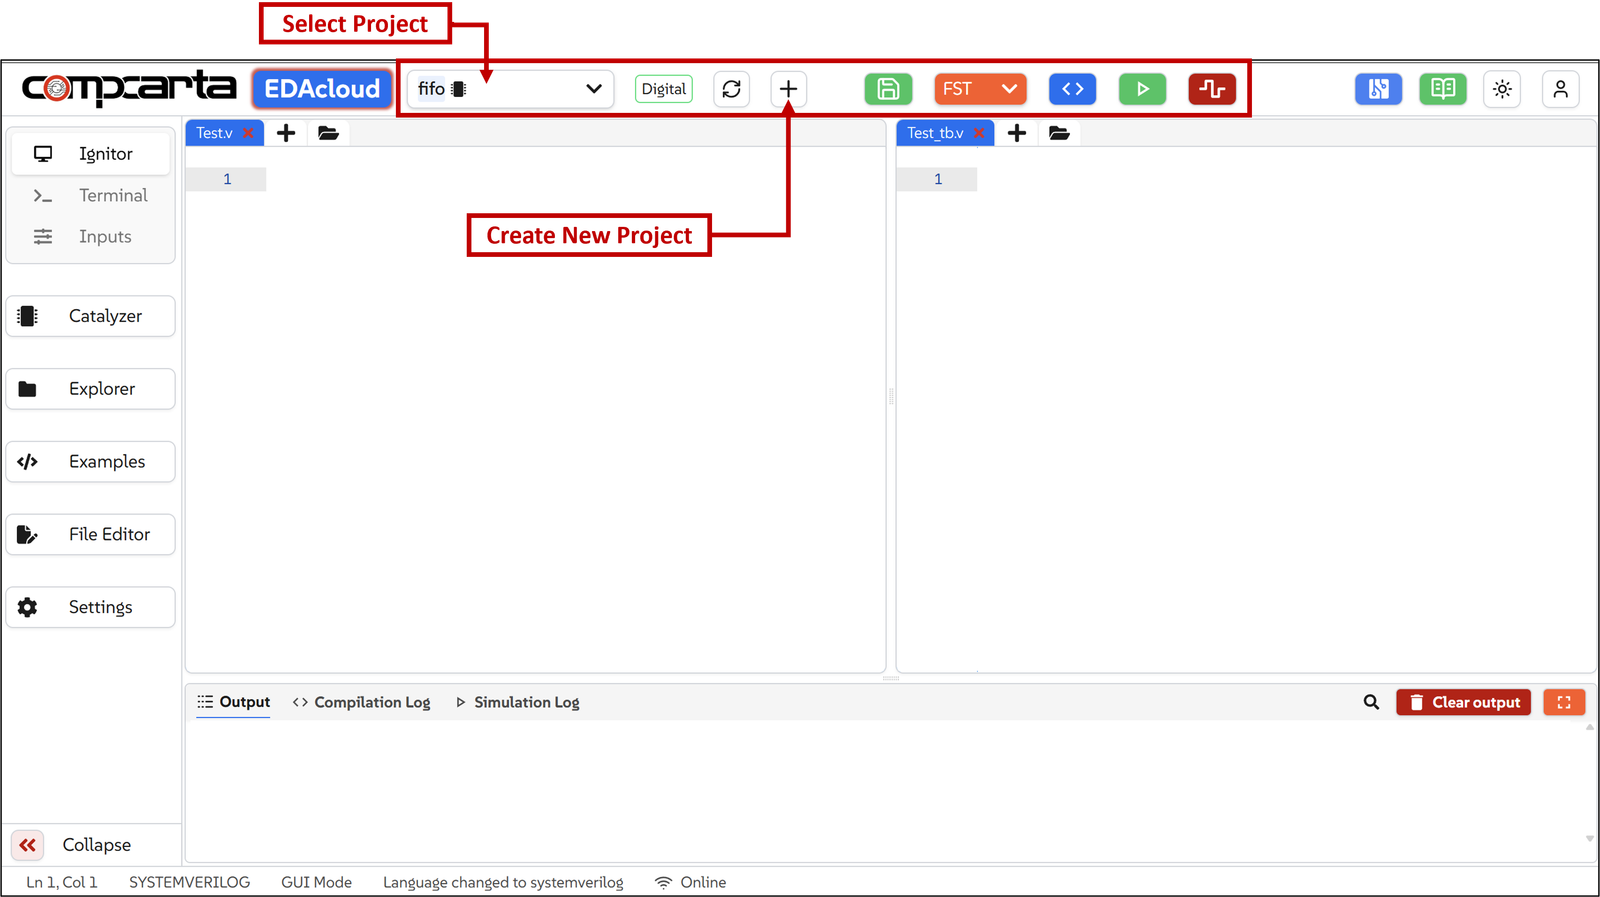
The above screenshot shows the Ignitor’s ribbon for starting a project. The sections within the ribbon are explained in detail in the following sections.
Select Project
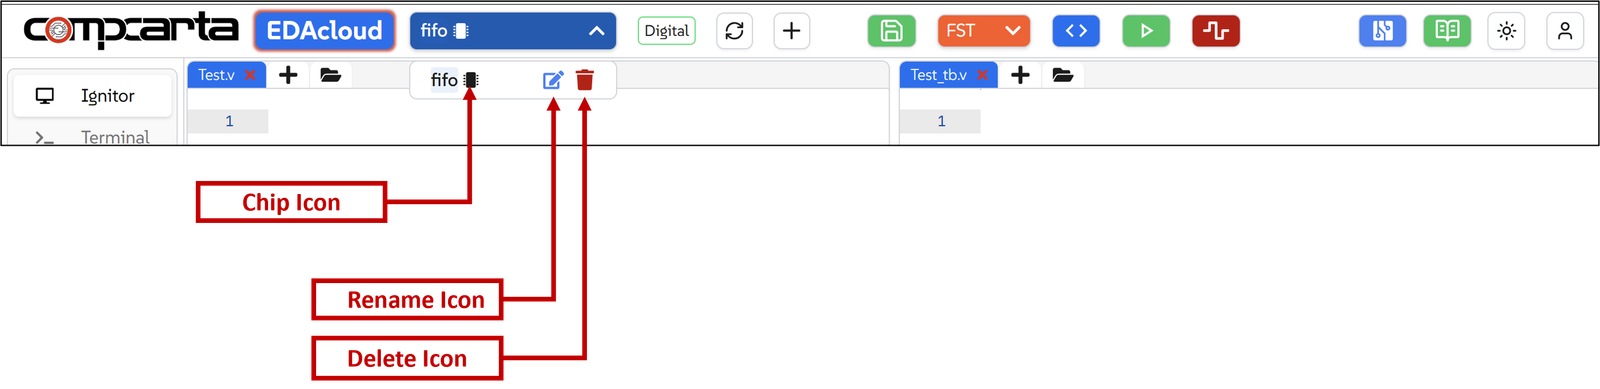
This dropdown menu displays all the projects created by the user in the Ignitor area. This menu includes icons that indicate the status of a project and provide quick actions. Below is an explanation of each icon:
1. Chip icon - This icon appears next to a project name if the project is imported from Ignitor to Catalyzer. This means the project is available in both the Ignitor and Catalyzer.
2. Rename icon - Click this icon to rename the project directly from the dropdown menu.
3. Delete icon - Selecting this option will delete the project from the Ignitor. If the project is also present in Catalyzer, it will be removed from there as well. Users can utilize these options to efficiently manage their projects within the Ignitor.
Create New Project
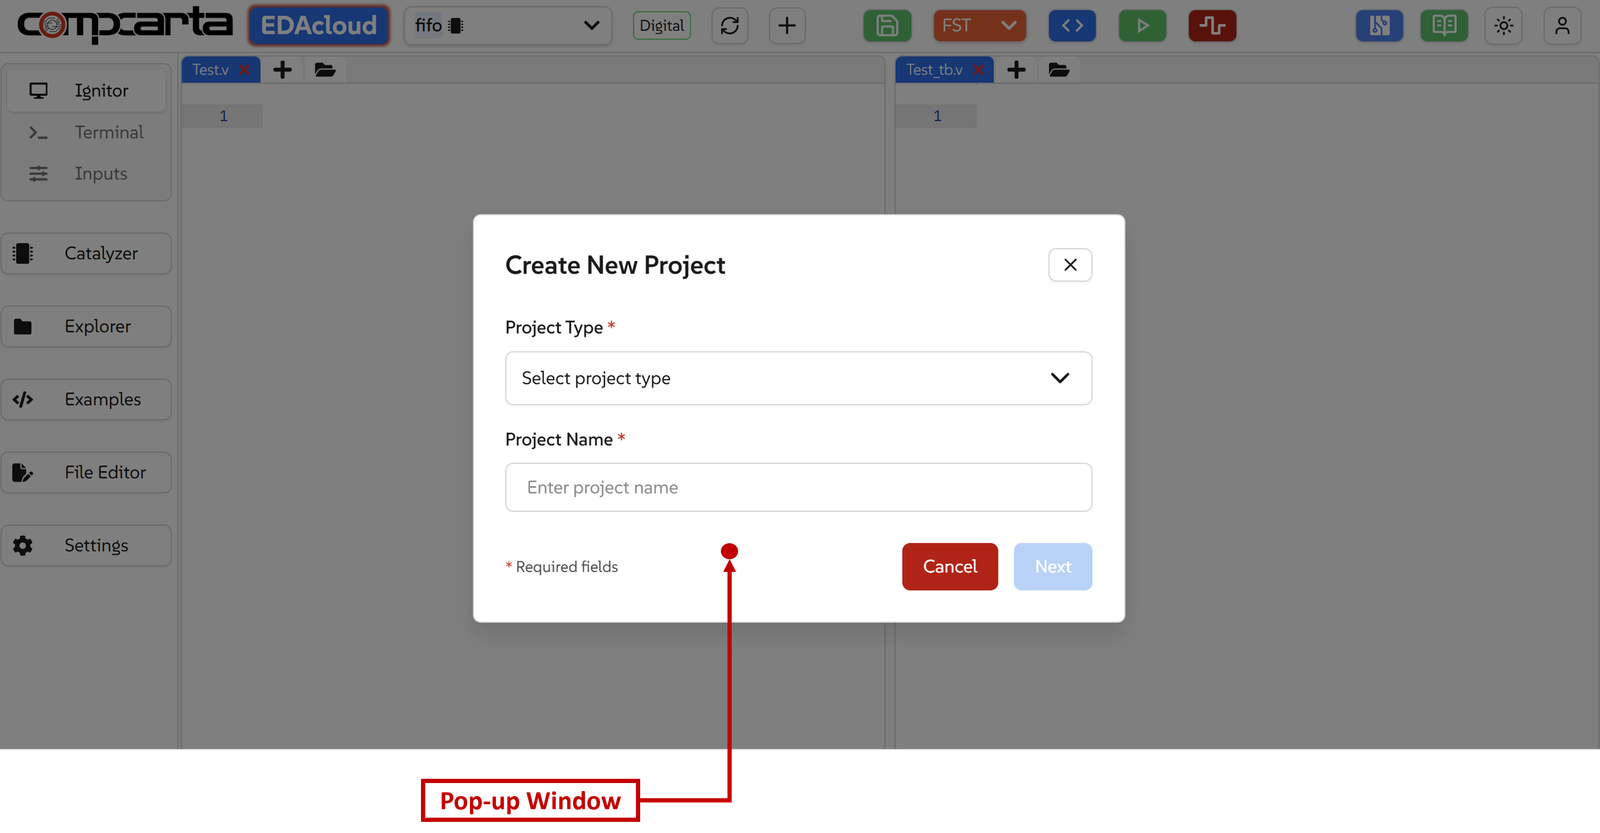
In order to create a new project in the Ignitor, click the ’+’ button on the ribbon. This will open a pop-up window, as shown below:
Steps to create a project:
1. Enter Project Name
• In the pop-up window, type the desired project name.
• If a project with the same name already exists, an error message ”Project name already exists” will appear on the window. Provide a unique project name to proceed.
2. Click ’Next’
• This will open ’Project Configuration’ window.
3. Configure the Project
• Enter the Design Name and Testbench Name.
• User has two options to proceed from here:
Option 1:
Upload existing design and testbench files in 'v, .sv, .zip or .tar' formats from their computer.
Option 2:
Click ’Create Project’ to start editing the design and testbench code manually in the Ignitor window. This process is explained in detail in the following section ”Create Design and Testbench files manually”.
Create Design and Testbench Files Manually
After creating a new project by specifying only the design and testbench file names, the Ignitor window will populate both areas with example code. This serves as a starting point for users writing new code from scratch.
Users can either modify the provided examples or modify them to write their own code as needed.
Creating More Than One Design and Testbench Files

The above screenshot shows how a user can add more design and testbench files once they have started creating a project manually.
There are two ways a user can add more files:
1. Using the ’+’ button
By clicking on the ’+’ button, the following pop-up window appears:
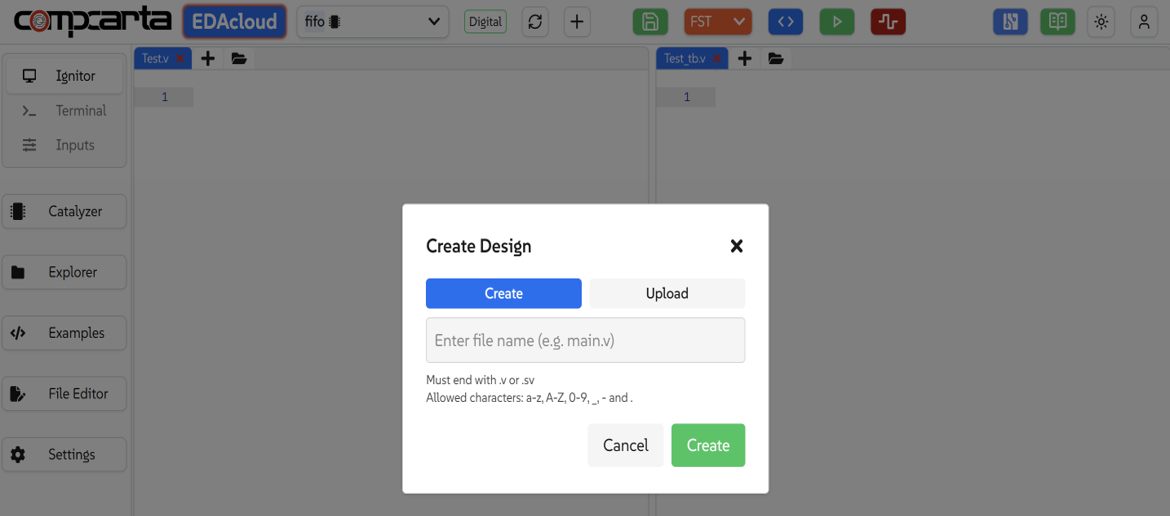
Here, the user can either provide only a name for the additional file or upload a file from their computer. In case only file name is provided, a blank file is created that can be edited in the Ignitor window later.
2. Using the ’Explore Files’ button
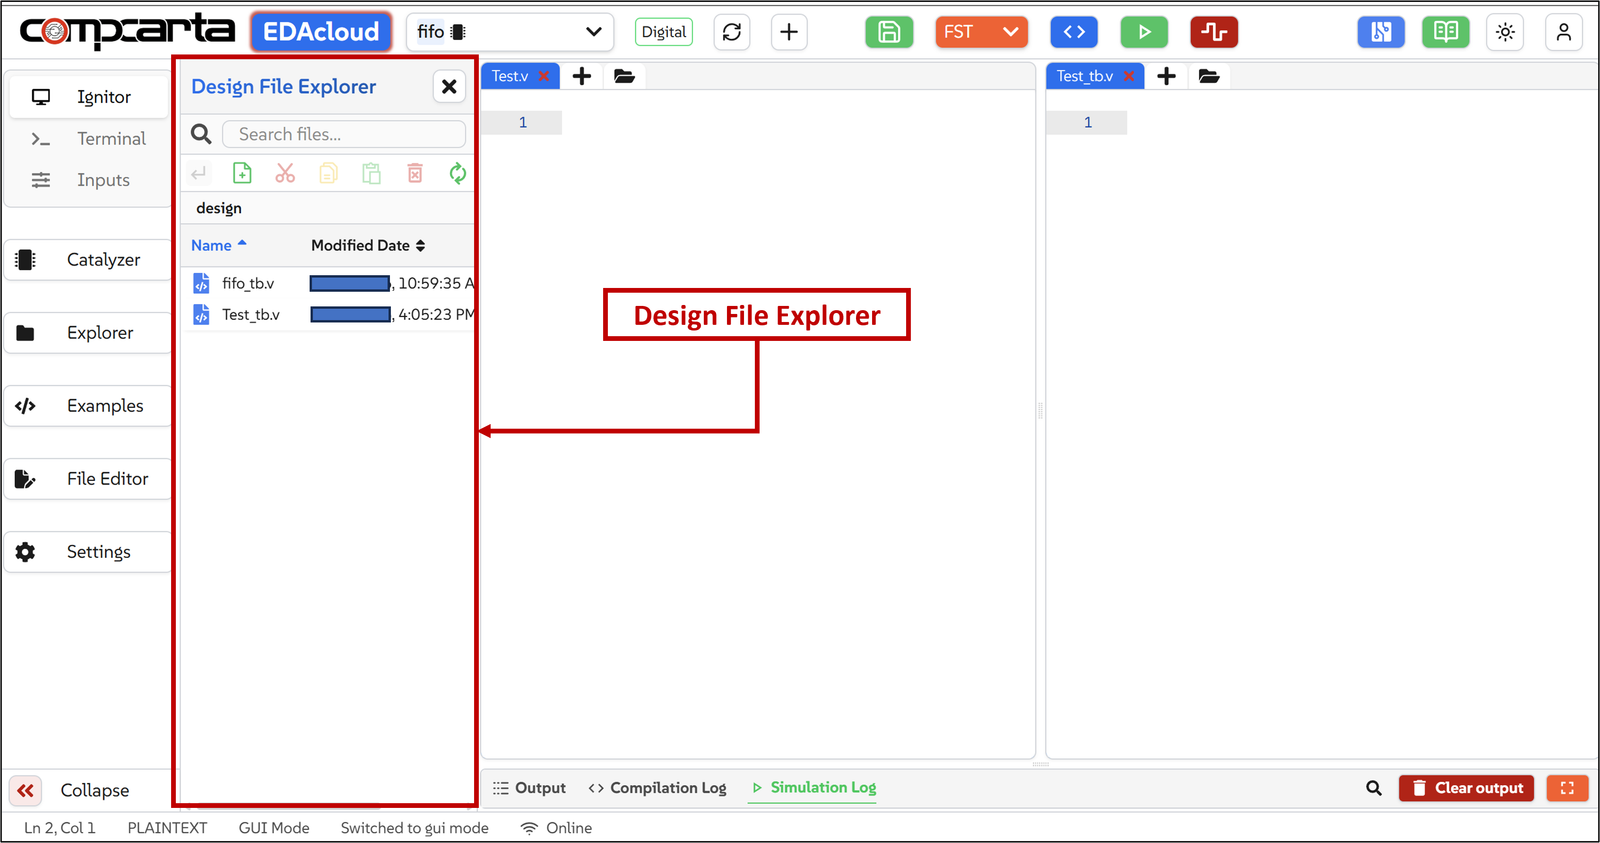
Clicking this button from the Design area opens the ’Design File Explorer’ on the left side. If clicked from the Testbench area, the ’Testbench File Explorer’ will appear instead.